改造Yootheme Pro的Panel元素
Panel元素是yootheme pro中较为常用的一个元素,它能方便地展示一个内容区域,包括标题、元、内容、图像、链接。但实际使用中,我们可能需要更多的内容字段,方便我们添加不同的信息,特别是当我们使用yootheme pro动态内容+Joomla自定义字段这种方案来构建内容的时候,会发现元素预设的字段并不够用。这篇教程就是为了解决这个问题,简单地介绍如何修改panel元素来增加内容字段。
实现步骤
一、复制并重命名文件夹为panel_plus
- 创建并启用你的子主题,例如:
yootheme_ycway - 到
templates/yootheme/vendor/yootheme/builder/elements复制panel元素文件夹 - 复制到你的子主题的
builder文件夹下并重命名为panel_plus,即templates/yootheme_ycway/builder/panel_plus
二、修改element.json
修改基础三项:
"name": "panel_plus",
"title": "Panel Plus",
"group": "野草工作室",
然后进入yootheme的编辑界面,打开元素库看是否已经创建了新元素
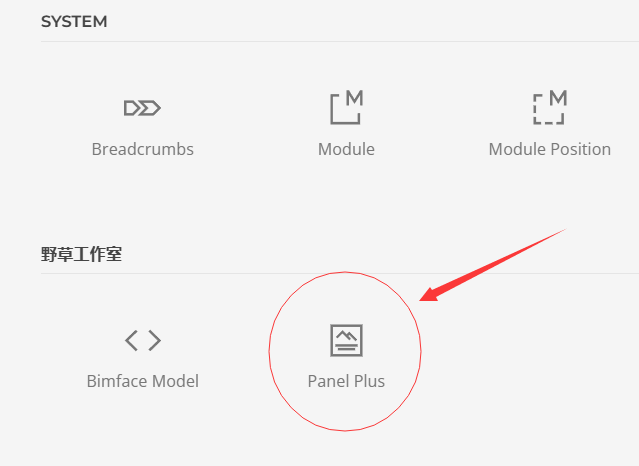
能够在元素库看到你的新元素,证明已经成功复制,现在你已经得到了一个除名称不一样,其他和原Panel元素一样的元素,接下来就可以做进一步的修改工作了。
增加一个字段content2
占位符中添加
    "placeholder": {
        "props": {
            "title": "Title",
            "meta": "",
            "content": "content text.",
	    "content2": "content2 text.",
            "image": "",
            "icon": ""
        }
    },
定义了一个新的fields
    "fields": {
        "title": {
            "label": "Title",
            "source": true
        },
        "meta": {
            "label": "Meta",
            "source": true
        },
        "content": {
            "label": "Content",
            "type": "editor",
            "source": true
        },
        "content2": {
            "label": "Content2",
            "type": "editor",
            "source": true
        },
        "image": "${builder.image}",
在fieldset中添加新增加的字段content2,让它显示在编辑区域
    "fieldset": {
        "default": {
            "type": "tabs",
            "fields": [
                {
                    "title": "Content",
                    "fields": [
                        "title",
                        "meta",
                        "content",
		        "content2",
                        "image",
三、修改一下element.php,增加新增加字段content2的引入
return [
    'transforms' => [
        'render' => function ($node) {
            // Don't render element if content fields are empty
            return $node->props['title'] != '' ||
                $node->props['meta'] != '' ||
                $node->props['content'] != '' ||
		$node->props['content2'] != '' ||
                $node->props['image'] ||
                $node->props['icon'];
        },
    ],
四、修改模板文件
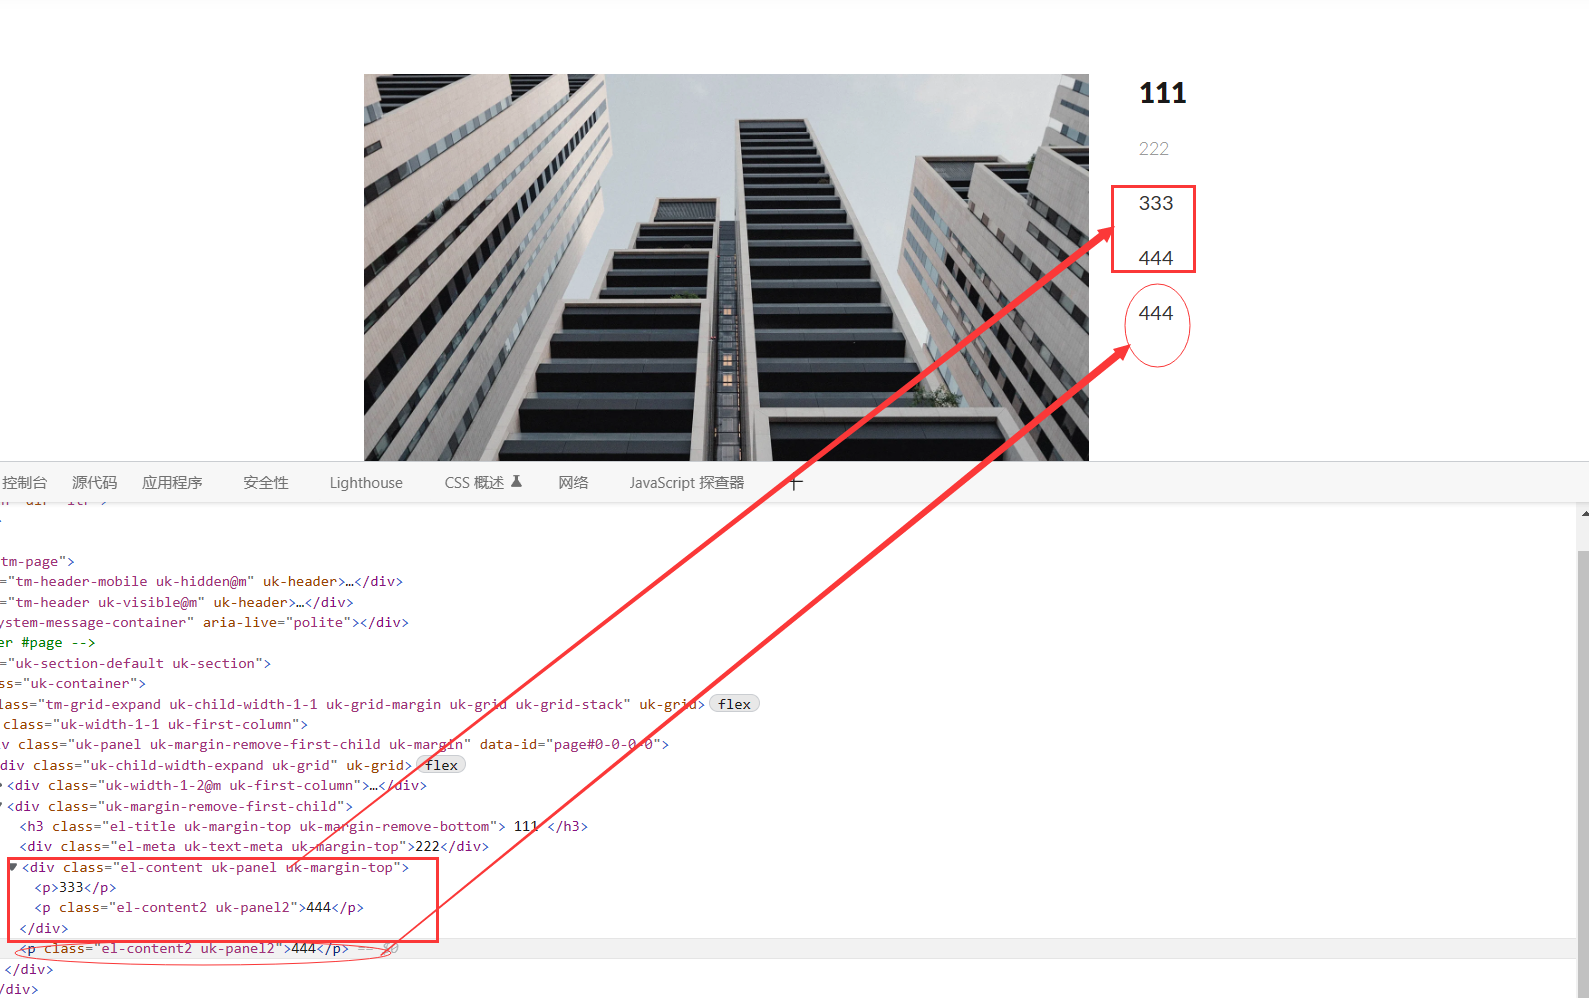
现在让我们来修改一下模板文件,看能不能正常显示新增加的字段。由于panel元素的模板主要分为template-content.php、template-image.php、template-link.php,一般来说,我们只需要修改template-content.php即可以。在模板的输出内容的地方,随便找个位置,写入代码<?= $props['content2'] ?>即可。
如果你需要把字段放入内容的包裹DIV,可以使用连接符.把它们放在一起,这样的好处是你只增加了你所需要的字段,但样式设置什么的,它全部从属于默认的内容字段,很方便实际使用。如果你需要为新增的字段设置包裹标签,也可以增加。
// Content2
$content2 = $this->el('p', [

    'class' => [
        'el-content2 uk-panel2',
    ],

]);
        <?php if ($props['content']) : ?>
        <?= $content($props, $props['content'].$content2($props, $props['content2'])) ?>
        <?php endif ?>

        <?php if ($props['content2']) : ?>
        <?= $content2($props, $props['content2']) ?>
        <?php endif ?>
这样,就简单地为默认的PANEL元素增加了一个字段。当然这只是非常简陋的字段,它并没有什么设置选项或功能。实际使用中,还需要为templates/yootheme_ycway/builder/panel_plus/templates/content.php 添加你的新字段,不然你使用网站的搜索功能是找不到该字段内容的